It is possible to connect different types of attachments to objects in IFS Applications, for example Documents, Approval process, Document Requirements, Change Requests etc. The connections between the different attachment types and objects is a system set-up usually defined at installation. This is when it's defined that e.g. Documents are used for Customer Orders, that Media is used for Inventory parts etc. It's usually the System Administrator who controls these settings.
When working in IFS Applications you can easily view how many attachments that are connected to the object you are working with. The number of attachments is displayed within parenthesis, e.g. (4), in the attachment panel. Open the Attachment panel to view the attachments,
Note that the number of attachments is displayed based on where you have focused the cursor on a page. E.g. in Customer Order page, if the focus in on the header the Attachment panel will show attachments connected to the header. If the focus in on a customer order line, it will display attachments for that line.
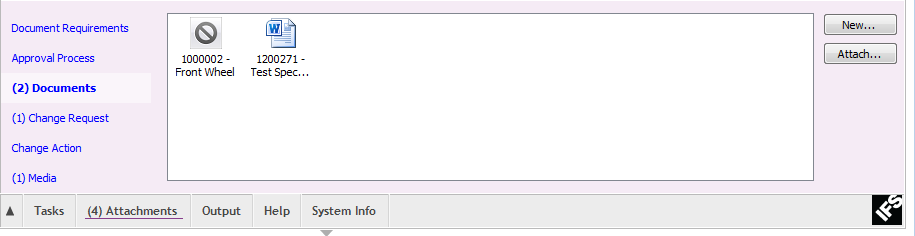
Figure 1: Attachments panel
In order to view attachments the Attachment Panel must be configured to be displayed. See Configuring Context Pane for more information.
N/A
N/A
N/A
Attachments are managed via the Attachment Panel in the Context Pane. Different options are available depending on type of attachment.
For more details about how to use Documents read the Document Management IFS Online Documentation, the section below is an overview.
Number of documents connected to current object is presented within parentheses, e.g. (2) Documents. Click the Document link to view information about the documents.
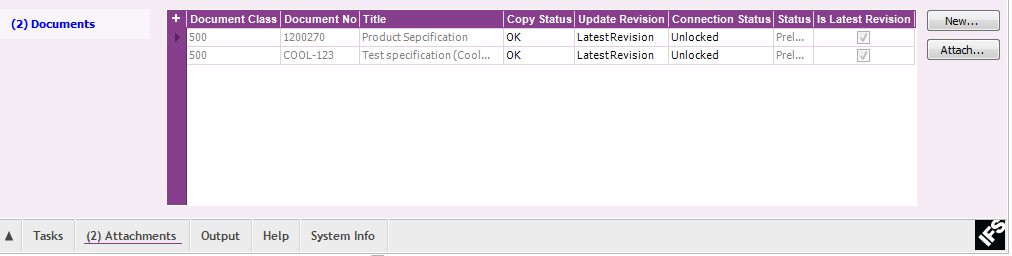
Figure 2. Attachment panel documents, detail view example
There are two buttons available on the right hand side, New and Attach.
Use the New button to attach a new document from your computer or from the network. When clicking the button the dialog below is opened
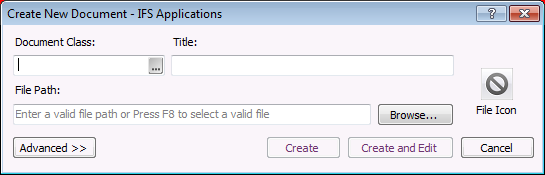
Figure 3, New Document dialog
In this dialog you enter document class, document title and then you can either type the file path or use the Browse button to open your file browser to select a file from your computer/network. Click Create button to connect the document.
Another option is to drag and drop directly from your file browser or desktop. Open the file browser, highlight a file and drag and drop to the document area in the attachment panel.
Use the Attach button to attach a document that already exists in Document Management. When clicking the button the dialog is opened.
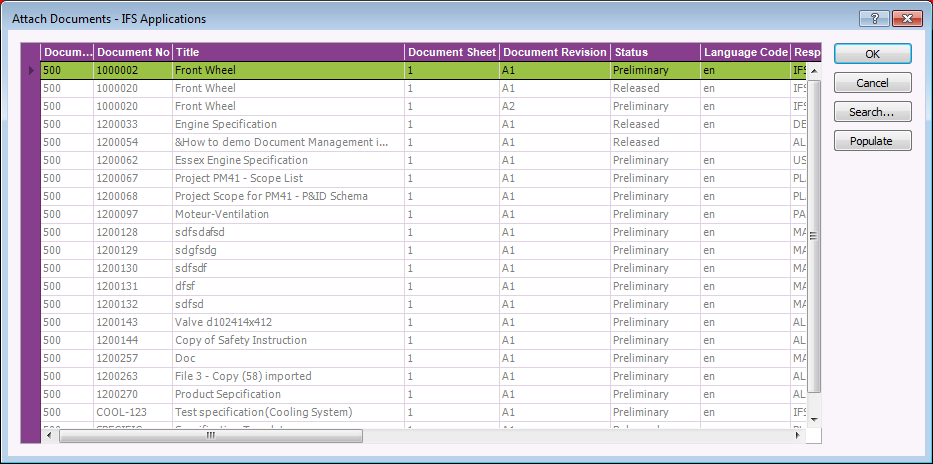
Figure 4. Attach document dialog
In this dialog you search for existing documents in Document Management. Click Search button to open the search dialog. Select a document and click OK button to connect.
There are a number of options available via the context menu, open with Right Mouse button, see below:
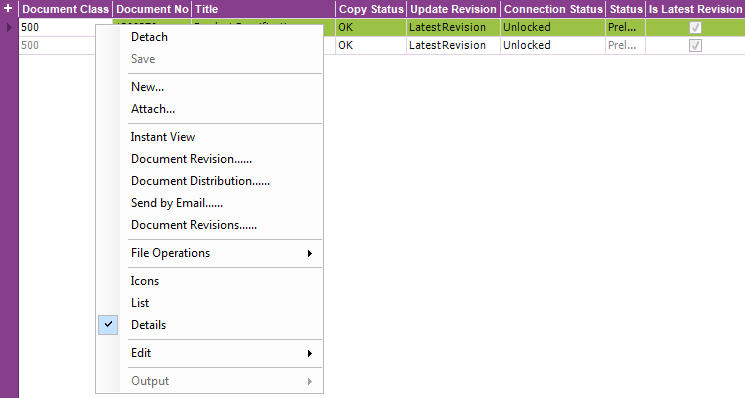
Figure 5. Context menu documents
The following options/actions area available: